Read Time: 6 minutes
Introduction: Why Measuring Paver Pedestal Heights Accurately Matters
When installing pedestal paver systems, getting the pedestal height right is one of the most important steps. If the heights are off, your surface might end up sloped wrong or holding water. That means extra work and extra cost. This guide outlines both simple and complex roof slopes and provides step by step instructions to collect the data you need to place a pedestal order.
Why Accurately Measuring Paver Pedestal Heights Matters
A perfectly level paver surface isn’t just about looks. It’s also about drainage, safety, and making sure doors open properly. Measuring correctly helps you:
- Order the correct materials the first time
- Get an accurate estimate and avoid unexpected added costs
- Avoid restocking fees and project delays waiting for returns and exchanges
- Keep the surface level for safe walking
- Line up your pavers with door thresholds
If you are new to paver pedestals, check out our Skydeck USA Adjustable Pedestal Animation Video to see how pedestal systems work.
What You Need Before Measuring Paver Pedestal Heights
Before heading to the roof, grab:
- A copy of the roof plan (or sketch one)
- Pen or pencil
- Tape measure
- Laser level or string line
- A clipboard to help write measurements on the roof plan
If no official plans are available, sketch out the patio area yourself and write down all key dimensions.
Instructions on Measuring Paver Pedestal Heights
Scenario 1: Single-Slope Roof
Many roofs are designed with a single pitch, directing water toward drains or scuppers along one edge. When measuring for pedestal heights in this situation follow these steps:
- Measure the Door Threshold – Start by measuring from the top of the roof’s waterproof surface up to the bottom of the door threshold. Write this measurement on your drawing; it determines how high the pavers should sit to align with the door.
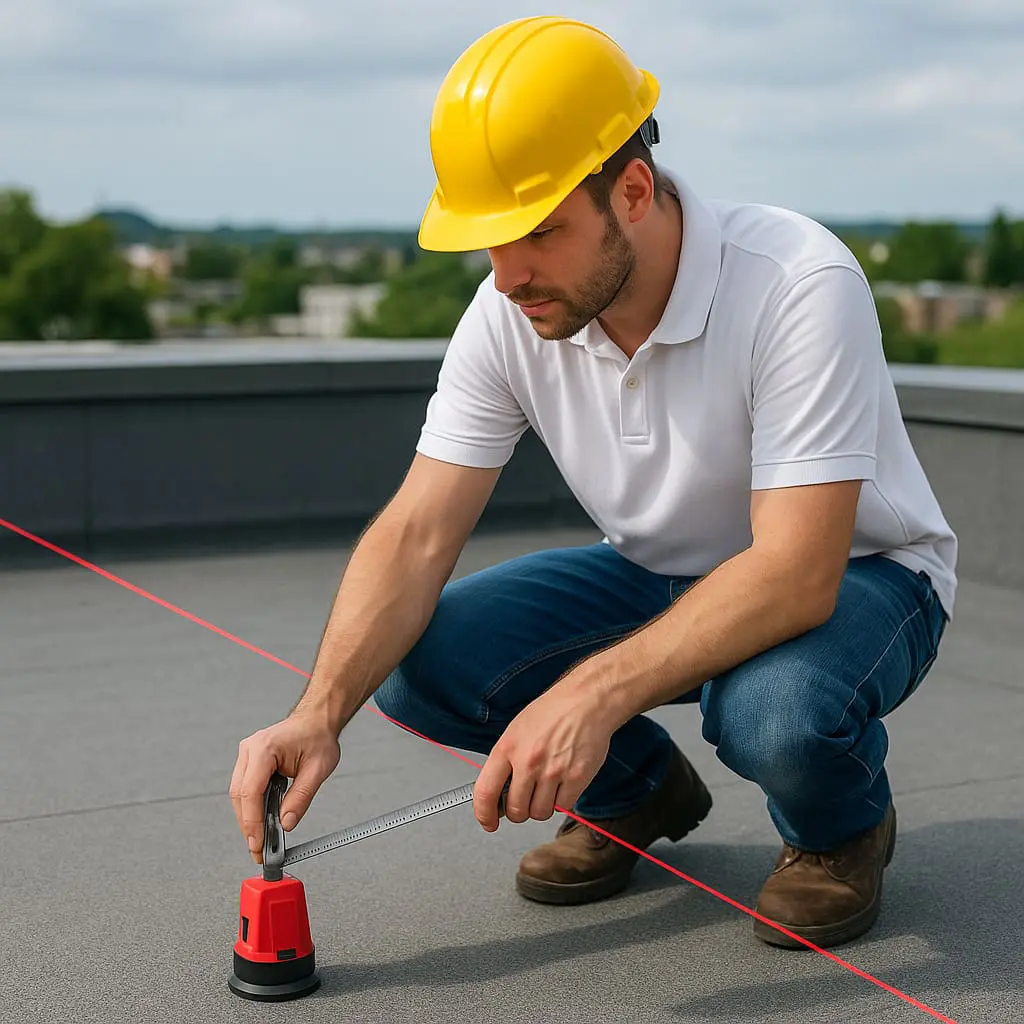
- Set a Reference Height – Using a laser level or stretched string line, set the height where the top of the pavers should go, this is typically just below the door threshold. Start at the door and run the line to the opposite edge of the roof.
- Measure the Low Point of the Roof – Now, go to the lowest side of the roof. Measure from the roof surface up to the string or laser line. This tells you how much height difference the pedestal system will need to accommodate. Record this measurement on your drawing.
- Document and Share the Drawing – Ensure that both the high and low points are added to your drawing or sketch. Send this to your pedestal supplier or installer so they can calculate pedestal heights and quantities for your project.
- Communicate Clearly on What You Measured: Communicate whether you measured just the pedestal heights or if your measurements include both the pedestal and the thickness of the paver.
Scenario 2: Multi-Drain or Crickets Roof
Complex roofs may have several slopes, drains, peaks and “crickets”—those raised areas that push water toward drains. Here’s how to handle those:
- Map Out the Drainage Layout – If you have a roof plan, great. If not, sketch out where drains, slopes, and crickets are. This helps you figure out where water goes.
- Measure the Door Threshold – As in the first scenario, start by measuring from the top of the roof’s waterproof surface up to the bottom of the door threshold. Note this on your drawing.
- Measure All Highs and Lows – Because the roof may slope in different directions, you’ll need to set the line at multiple points. At every key point—like each corner, drain, and peak and base of each cricket—measure from the roof up to the string line. This shows how much slope is involved at each spot. Record each measurement on your drawing.
- Mark Crickets and Slopes – If your roof has crickets, write down their size—how long and wide they are. This helps calculate the right pedestal heights under and around them.
- Share a Complete Elevation Sketch – Put all these notes on your sketch. Send the final version to your pedestal supplier or installer. They’ll use it to calculate the pedestal heights and create a pedestal layout drawing for every support location.
Top Mistakes to Avoid
- Skipping field measurements: Roof plans are helpful but don’t replace real-world measuring.
- Measuring before waterproofing is finished: Pedestal suppliers typically base their estimates on architectural drawings alone, so verifying heights onsite after waterproofing is essential for precision.
- Forgetting to align with the door threshold: A misaligned door creates trip hazards and water issues.
Tips for Working with Pedestal Suppliers
- Clearly write in measurements on the roof drawing
- Clarify whether you measured just the pedestal heights or if the measurements include the thickness of the paver
- Ensure accurate and thorough measurements to avoid multiple trips to the jobsite or delay in the estimating process
- Clearly label drain and cricket locations
- Provide a tapered insulation drawing, if you have one
- Provide photos or videos to clarify the sketch
- Accurately measuring paver pedestal heights will ensure faster turnaround time on estimates, quicker product fulfillment, and reduce delays waiting for exchanges or added orders of pedestals
Conclusion: How Properly Measuring Paver Pedestal Heights Prevents Costly Rooftop Problems
When you take the time to measure your roof correctly, you avoid costly surprises. Pedestals will arrive at the right heights. Your surface will drain well. And you won’t waste hours cutting or adjusting things later. Whether your roof slopes in one direction or has a tricky setup with crickets and drains, following these steps sets your project up for success.
Frequently Asked Questions (FAQs): Common Issues When Measuring Paver Pedestal Heights
Q1: Can I measure paver pedestal heights without a laser level?
Yes, a string line works fine if stretched tightly and kept level. A laser just makes it faster and more accurate.
Q2: When should I measure the roof for pedestal heights?
Do it after waterproofing is complete, but before you order pedestals.
Q3: Can I use the architectural drawings instead of measuring?
Drawings are a good start for budget purposes, but they often differ from actual measurements once a building is built. Always verify measurements in person.
Q4: What if my roof has crickets and drains?
Measure all highs and lows and mark the size of the crickets directly on the patio drawings. Share this with your supplier for the most accurate quote.
Q5: How close should the pavers be to the door threshold?
Pavers should sit just below the door threshold, with a small gap for drainage and clearance. Some ADA projects may require less of a gap. If your area receives heavy snowfall, leaving a larger gap can prevent snow build up at the doorway. So, check with the architect for project requirements before beginning to measure paver pedestal heights.
Summary with Key Takeaways: Simple Steps for Measuring Paver Pedestal Heights Like a Pro
- Measure after waterproofing, not before
- Use the door threshold as your starting point. Use the shortest threshold if there’s more than one.
- Use a string or laser line to mark desired paver height
- For complex roofs, measure every corner, drain, cricket and threshold
- Provide a clear sketch and photos or videos to your supplier for accurate pedestal layout
**If you are in need of a ballpark quote, we have a paver pedestal calculator on our website that can help estimate the quantity of pavers and pedestals needed for your project. These calculations assume a 10% waste factor for pavers and a 5% waste factor for pedestals. So, you will also need to get a more accurate quote by following the steps for measuring paver pedestal heights in this article prior to placing an order.